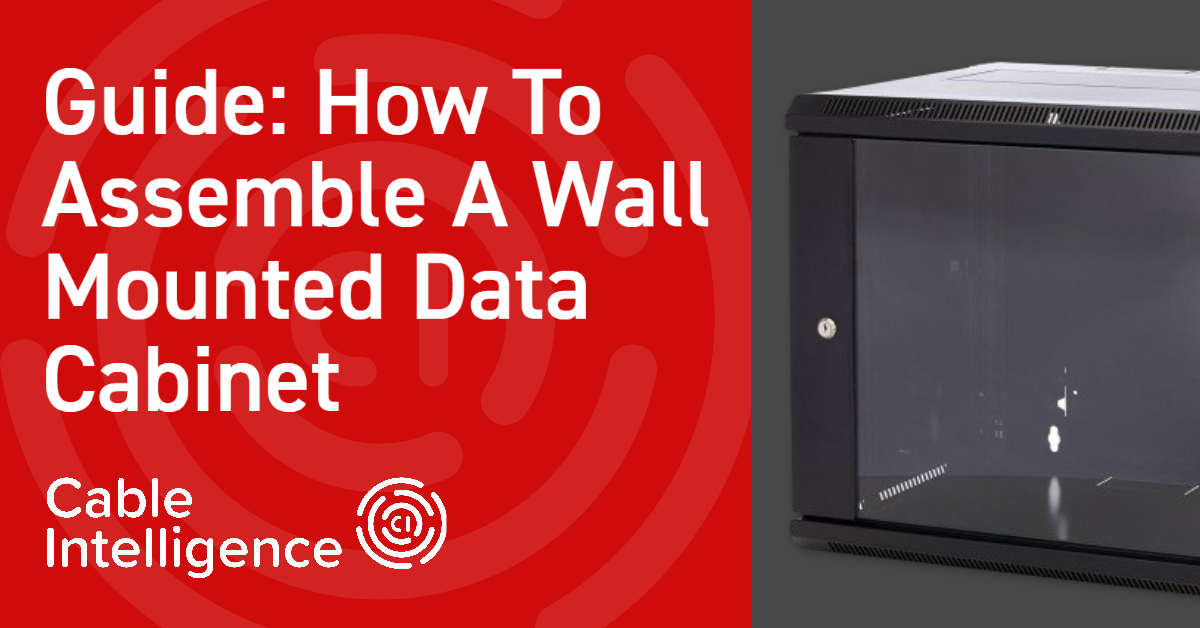
Wall Mounted Data Cabinets, sometimes referred to as ‘Wall Boxes’ are a fantastic solution for keeping your hardware tidy and safely locked away.
If you have rack-mountable equipment, this can easily be installed in a wall box provided you have enough space.
They aren’t just for use in a commercial environment either; smaller cabinets are perfect for use in the home to keep set top boxes, games consoles and other equipment safe from pets, children and so on.
A lot of cabinets bought through Cable Intelligence do have the option to arrive pre-built. However, when space is at a premium, you may only have the option to buy a flat-packed cabinet so you can actually get it into the room it will be placed in. When it arrives, you’ll be presented with a large box with a lot of parts, and fairly rudimentary instructions - it can be quite daunting.
So how do you put it together?
In truth, wall boxes are extremely simple to assemble, so don’t let buying flat-packed put you off. If you can build a piece of furniture from that well-known Swedish retailer, you can build a wall box! Ideally it’s a two-man job, but it is do-able solo if you’re patient.
So, let’s dive in and go through the assembly steps. In this article, we’ll use an Excel cabinet as a reference, but the process is similar for other brands. Before you start, we would recommend building the cabinet on carpet or a similar soft surface as the hard edges can scratch a wooden floor.
Assembly Steps
1. Remove Side Panels From The Frame
For ease of transportation, the side panels are locked into the frames. However, these will need to be placed somewhere separately so that you can assemble the ‘skeleton’ of the cabinet first.
 |
 |
2. Open The Front Door And Remove It From The Front Frame
Again, we need to place the front door somewhere safe first so it’s easier to assemble the frame. You can do this by pulling the sprung latches up/down so that the door is released.
3. Fix The 19" Mounting Rails To The First Holes In The Top And Bottom Of The Side Frames
In the package, you will see the mounting rails (it’s essentially a strip of bent metal with square holes). These need to be screwed to the side frames so that rack mountable equipment or shelving can be installed later on.

4. Install The Side Frames Into The Grooves Of The Back Frame
You need to screw the side frames into the back frame in this step, making sure that the side frames are facing outward. It’s at this point that the installation may become tricky for one person, because you need to keep everything steady and upright.
5. Install The Top And Bottom
This step is completed by sliding the top and bottom sections on to the frame. You need to be careful that the orientation is right – one tip is to quickly slot in one of the side panels for a moment to get an idea of which way is ‘up’.

6. Install The Front Frame
You may need to loosen some of the screws up in order to easily fit the front frame on the cabinet – but be careful as the whole thing will become slightly wobbly! You’ll know everything is where it should be, because it will ‘snap’ in place. You can then tighten everything up.
7. Install Side Panels And Front Door
The final step is simply the reverse of the first two steps. You may want to keep them off if you wish to immediately install any shelving or rack-mountable equipment. This is very easy to do – simply clip in the nuts provided with the hardware (they do wobble slightly) where you require the equipment to be mounted, and screw your bolts into the opposite side of the rail in front of the ears of the hardware you’re mounting.
As you can see, there’s really not much to worry about in the assembly of a wall box. The hardest part is holding everything together while slotting panels in if you’re flying solo, and even if it does fall down like a pack of cards, only the front door is made of glass (or sometimes Perspex) so there’s no risk of shattering anything if you’re careful.

